Django Forms
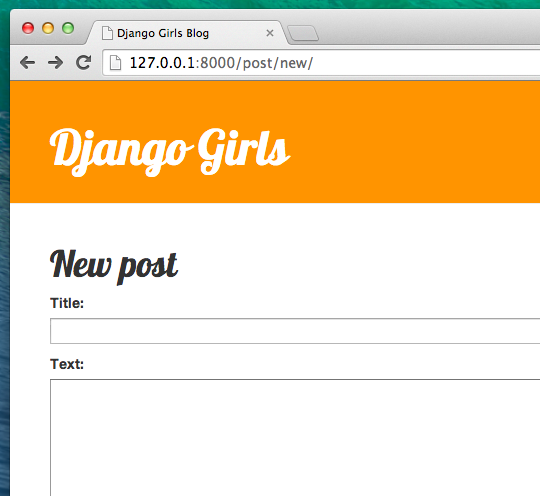
The final thing we want to do on our website is create a nice way to add and edit blog posts. Django’s admin is cool, but it is rather hard to customize and make pretty. With forms we will have absolute power over our interface – we can do almost anything we can imagine!
The nice thing about Django forms is that we can either define one from scratch or create a ModelForm which will save the result of the form to the model.
This is exactly what we want to do: we will create a form for our Post model.
Like every important part of Django, forms have their own file: forms.py.
We need to create a file with this name in the blog directory.
blog
   └── forms.py
OK, let’s open it in the code editor and type the following code:
blog/forms.py
from django import forms

from .models import Post

class PostForm(forms.ModelForm):

    class Meta:
        model = Post
        fields = ('title', 'text',)
We need to import Django forms first (from django import forms) and our Post model (from .models import Post).
PostForm, as you probably suspect, is the name of our form. We need to tell Django that this form is a ModelForm (so Django will do some magic for us) – forms.ModelForm is responsible for that.
Next, we have class Meta, where we tell Django which model should be used to create this form (model = Post).
Finally, we can say which field(s) should end up in our form. In this scenario we want only title and text to be exposed – author should be the person who is currently logged in (you!) and created_date should be automatically set when we create a post (i.e. in the code), right?
And that’s it! All we need to do now is use the form in a view and display it in a template.
So once again we will create a link to the page, a URL, a view and a template. use this link tutorial.djangogirls.org
